


Building a django app that dispays a hello world text
Django works on sending requests,receiving requests,processing requests sent and returning the requests sent
A user sends a request, request is received by the urls, then the configured urls work with the views, the views then process the request returning a string of text to the user
Thats just a short overview of how django works
now lets create our application
Befire you begin set up your environment well by making sure you have the following
- Python 2 . Django
Check them by typing the following commands in your command line
For python
C:\Users\LENOVO\Desktop\blog>python --version
Python 3.8.1
For Django
C:\Users\LENOVO\Desktop\blog>python -m django --version
3.0.3
If python and django are installed you should see the versions displayed The numbers below the commands represent the versions installed
Make sure you have the right django version installed matching the python version installed ( i prefer you have the latest version) Setting up your environment is important so as to reach the project requirements and have a better and satisfying output
Create a project A project is a collection of setting and configurations i.e includes the database configurations, app setiings among others
Change into the directory where you wish your project to be
Start the project by typing the following in the command interface
C:\Users\LENOVO\Desktop\blog>django-admin startproject myproject
this will create a myproject project
having the following structures , change the directory by typing the following commands
changing from the root directory
C:\Users\LENOVO\Desktop\blog>cd myproject
changing to the project folder
C:\Users\LENOVO\Desktop\blog>cd myproject
Type the following command in you CLI to see the project structures
C:\Users\LENOVO\Desktop\blog\myproject>ls
manage.py  myproject

C:\Users\LENOVO\Desktop\blog\myproject>cd myproject
#change
C:\Users\LENOVO\Desktop\blog\myproject\myproject>ls
__init__.py  asgi.py  settings.py  urls.py  wsgi.py
The first one has manage.py and myproject then change the directory to the project folder
Just to describe some features
The manage.py is used in command line utility that makes interaction with django project easy readmore
Init.py is an empty file telling python that this is a pythin package
Setting.py used for app configuration
asgi.py is an entry point for servers readmore
wsgi.py servers also as an enry point for wsgi compatible web servers serving your project
urls.py used for urls configurations for receiving requests
The development server now change teh directory to the root directory
We are going to start the server to make our app run so as to displsy in the web browser so as to verify that the project works well
Run the server by typing
C:\Users\LENOVO\Desktop\blog\myproject>python manage.py runserver

the following will display

C:\Users\LENOVO\Desktop\blog\myproject>python manage.py runserver
Watching for file changes with StatReloader
Performing system checks...

System check identified no issues (0 silenced).

You have 17 unapplied migration(s). Your project may not work properly until you apply the migrations for app(s): admin, auth, contenttypes, sessions.
Run 'python manage.py migrate' to apply them.
January 04, 2021 - 18:05:34
Django version 3.0.3, using settings 'myproject.settings'
Starting development server at http://127.0.0.1:8000/
Quit the server with CTRL-BREAK.
copy the http://127.0.0.1:8000/ and paste in your browser to display the image below
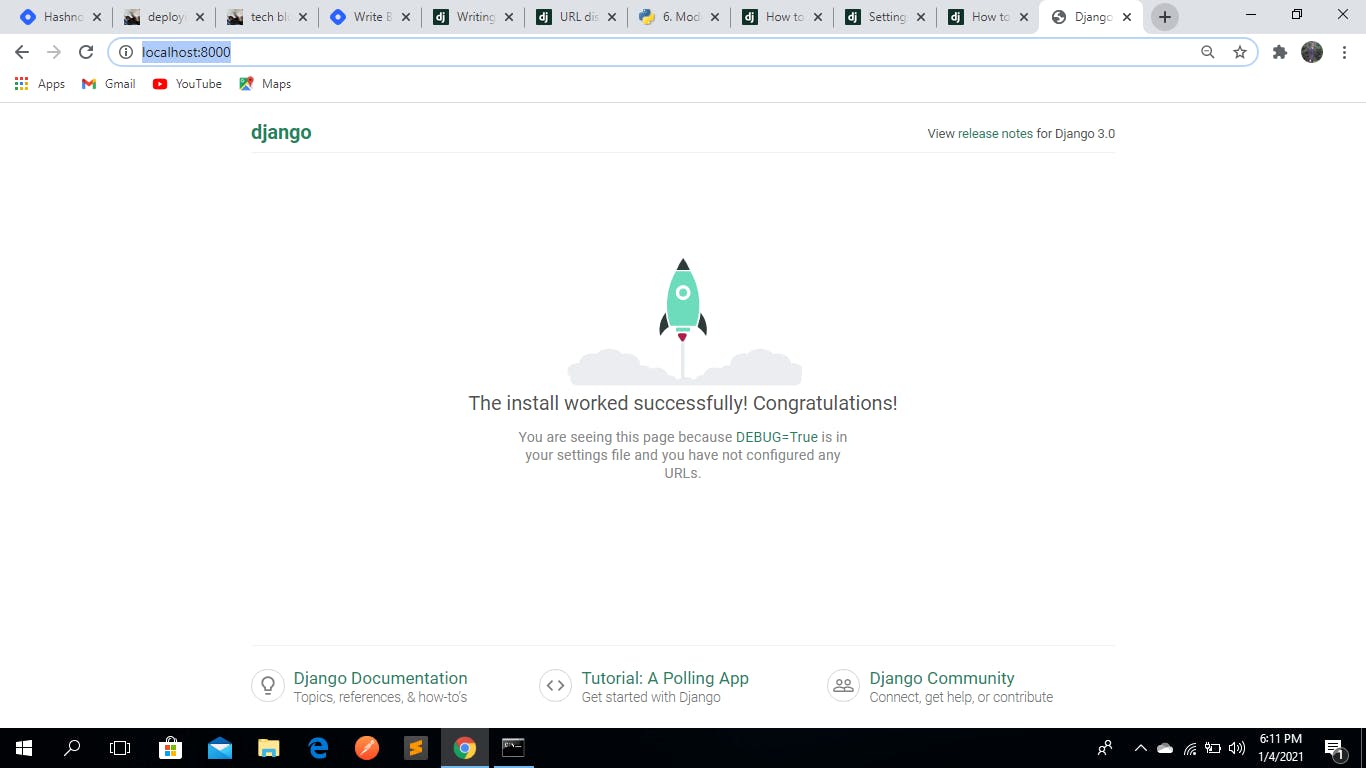
when you want to exit the just press CTRL + C the the terminal will break
Create app break the teminal (CTRL + C) to create an app
in the same directory type the folowing to create an app
C:\Users\LENOVO\Desktop\blog\myproject>python manage.py startapp myapp
Change the directory to myapp(default app) to see the structure see below
#change
C:\Users\LENOVO\Desktop\blog\myproject>cd myapp

#see list
C:\Users\LENOVO\Desktop\blog\myproject\myapp>ls
__init__.py  admin.py  apps.py  migrations  models.py  tests.py  views.py

C:\Users\LENOVO\Desktop\blog\myproject\myapp>
See the overview in the short descriptions below
The
admin.py is a configuration for built in django-admin readmore
apps.py is a configured file for the app readmore
migrations.py this is used to track changes in the models.py upon modification
test.py used for app spacific test
the views.py is used for logical functioning of our app readmore
Thats just a brief overview now lests get back to the building process
add the myapp(your app ) the settings.py file under the installed apps
see below
INSTALLED_APPS = [
    'myapp',
    'django.contrib.admin',
    'django.contrib.auth',
    'django.contrib.contenttypes',
    'django.contrib.sessions',
    'django.contrib.messages',
    'django.contrib.staticfiles',
]
in the my app folder create a file and name it urls.py then go to the urls.py file in the project structure and configure your priject and app urls by adding the following lines
import include and add your app urls

should look like

from django.urls import path , include #addinclude

urlpatterns = [
    path('admin/', admin.site.urls),
    path('' , include('myapp.urls')) #added #myapp is the name of your app
]
in the urls.py file created define your urls ,
1 .importing the url paths 2 .importing the views 3 . define your urls patterns,names and views
from django.urls import path #importpath

from . import views #import views

urlpatterns = [

    path('' , views.index , name = "index")  #index_used_in_views #nameofurl
]
In the views.py file define a function that is going to return a value when called , we have named the function index as we defined in the urls.py file (you can use the name of your choice) below is a description and structure
from django.shortcuts import render

def index(request):

    return render(request , 'index.html') #index.html_to_be_used_in_template
Template
Create a folder in the myapp directory and the name it templates templates
in the templates folder create a file and name it index.html as we used in the view.py Inside the index.html file write you 'hello world text' using the HTMLTAGS mine looks like this
<!DOCTYPE html>
<html>
<head>
    <title>hello wolrd</title>
</head>
<body>

    <h1>HELLO WORLD</h1>

</body>
</html>
Start the server and refresh your browser where you pasted the http://127.0.0.1:8000/ url
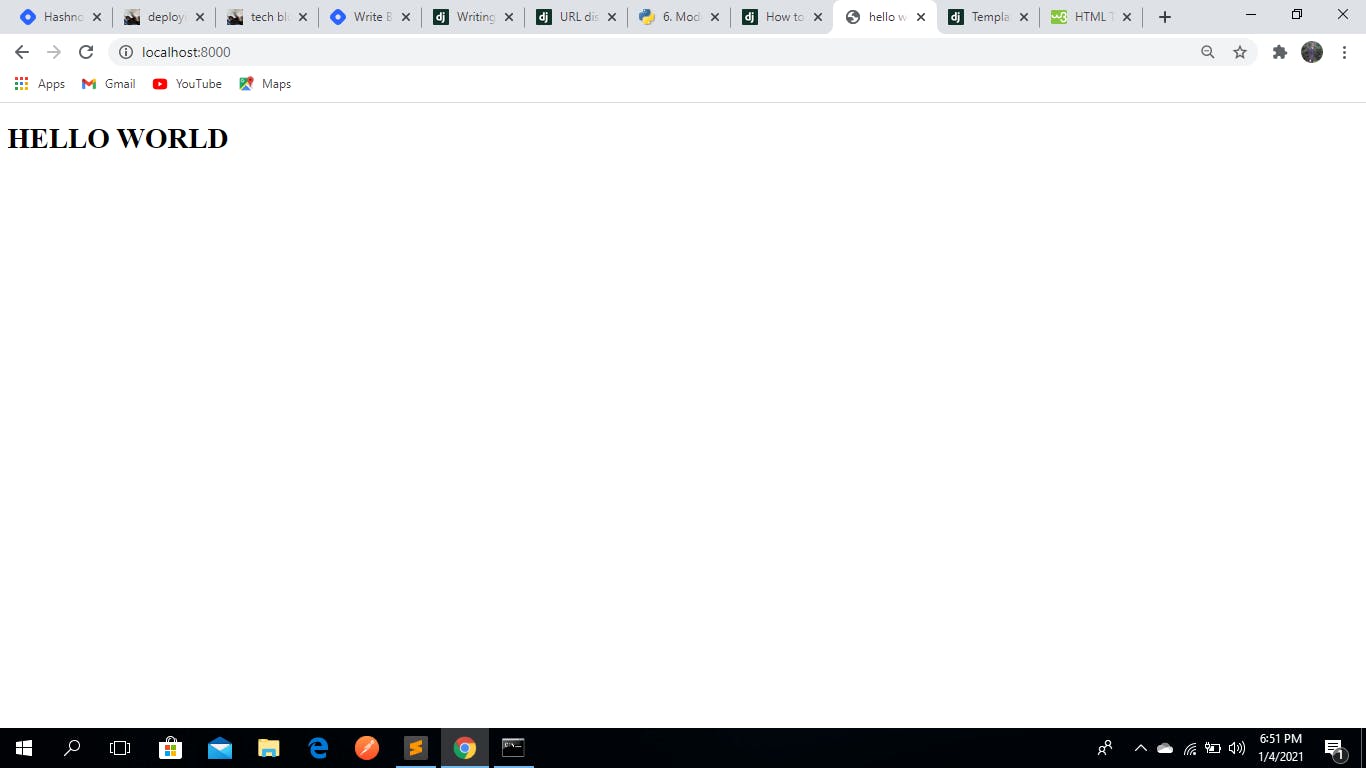
CONGRATULATION you've made your first hello wolrd
written by ian